
How to Tile a Bathroom Floor: What Actually Happens
Plenty of people search for how to tile a bathroom floor with a weekend project in mind, and there's nothing wrong with that if the room's genuinely straightforward and you understand what you're taking on. But the actual process a professional follows has a lot more steps before the first tile goes down than most guides let on, and skipping or reordering them is where almost every DIY bathroom floor goes wrong. Here's the real sequence, and why each step exists.
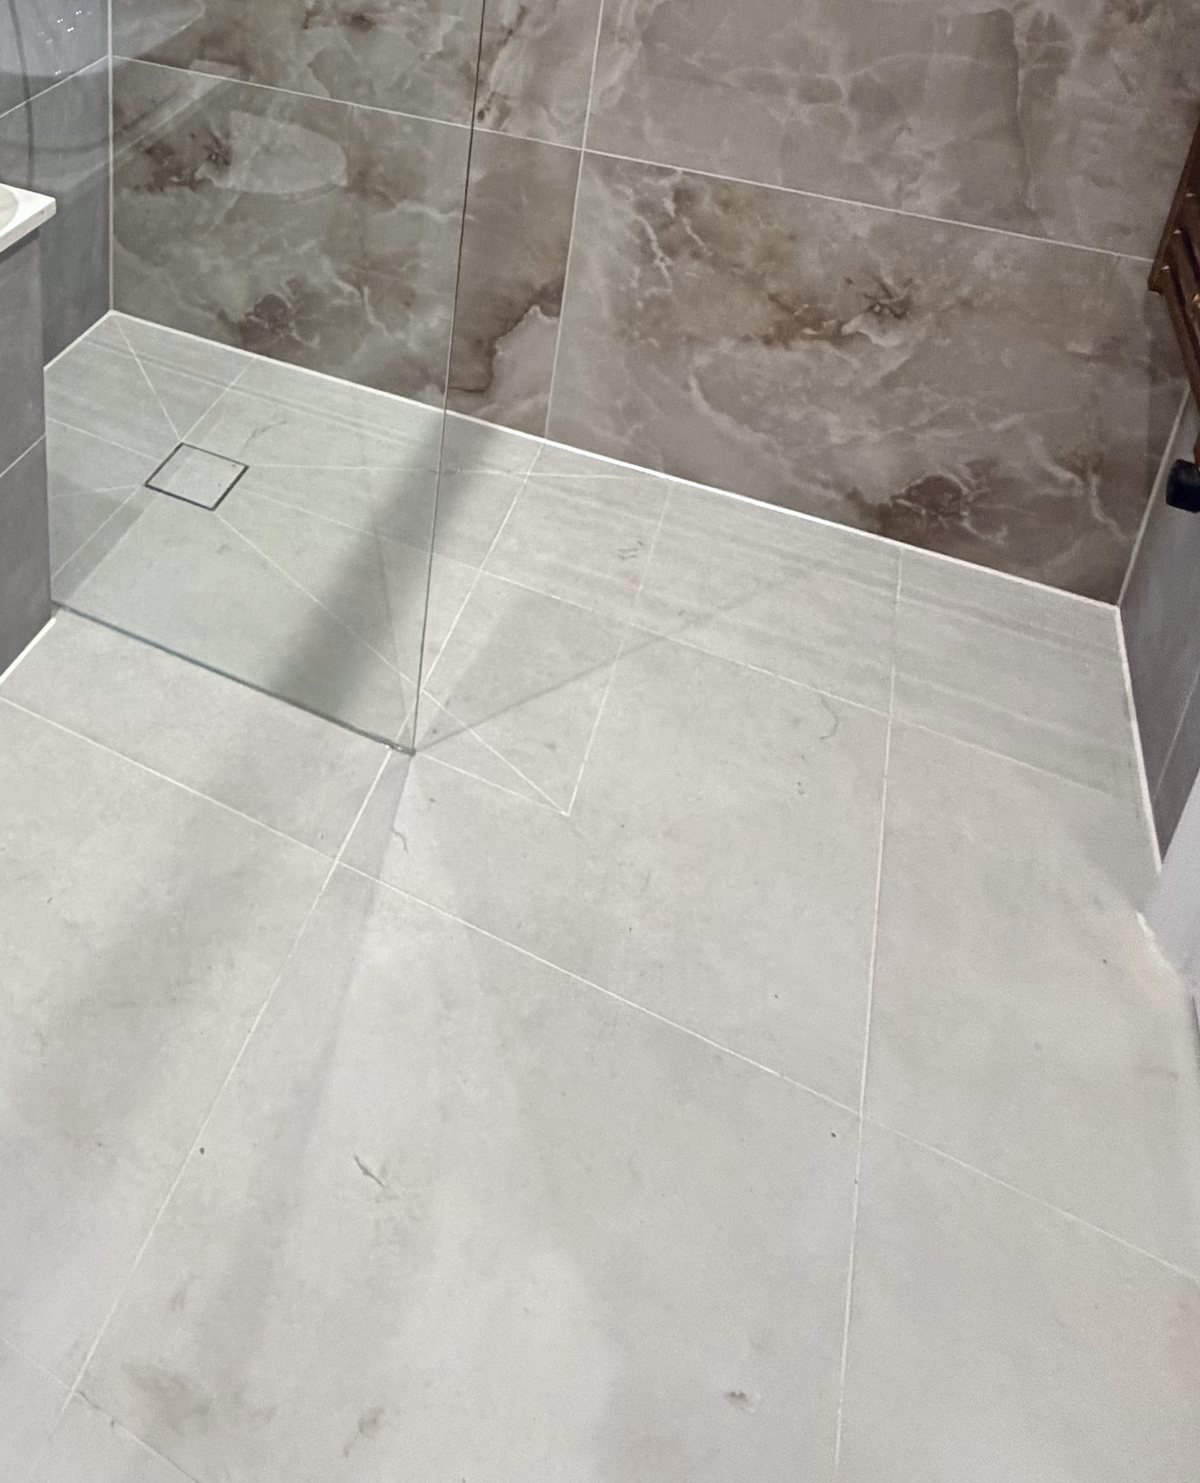
Waterproofing First, If It's a Wet Area
If the floor is in a shower enclosure, wet room, or anywhere water sits or splashes regularly, waterproofing (tanking) goes down before anything else: applied to the floor and up the walls, cured properly, and checked before a single tile is fitted. This isn't an optional extra step for better jobs. It's the thing stopping water getting into the subfloor and the ceiling below for as long as that floor exists. Grout and sealant matter, but they're not the waterproofing layer, and treating them as if they are is one of the most common and most expensive mistakes in bathroom tiling. If you're doing a floor that isn't in a wet area, say a small area away from the shower in a larger bathroom, the waterproofing requirement is lighter, but it doesn't disappear entirely.
Checking the Subfloor Is Actually Level
Tiles need a flat, stable, properly prepared surface to sit on, and bathroom subfloors are rarely as flat as they look to the eye. A professional checks this properly before committing to a layout, because tiling over a surface with dips, high spots or movement doesn't just look uneven once it's done. It creates hollow spots under tiles that can crack or come loose over time, and it's a much bigger issue with large-format tiles than smaller ones, since a bigger tile bridges a bigger area of any unevenness underneath it. Getting this stage wrong is invisible on day one and expensive months later, which is exactly the kind of problem that's cheap to sort before tiling starts and genuinely disruptive to sort afterwards.
Setting Out the Layout Before Cutting a Single Tile
This is the step that separates a floor that looks planned from one that looks like it happened by accident, and it's also the step most commonly skipped in a rushed or DIY job. Setting out means working out exactly where every tile will land and where the inevitable cut tiles will fall, making sure those cuts end up somewhere unobtrusive (tucked behind a toilet or in a corner) rather than as an obvious sliver of tile in the middle of the room or right where you first walk in. It also means working out the layout around anything awkward in the floor, like a toilet flange or pipe, before it becomes a problem mid-job rather than something planned for from the start. Skipping this step doesn't show up until you're most of the way through the floor, by which point the options for fixing an awkward cut line are a lot more limited.
Already sure this is the job you want done properly? Call us directly, no need to read on.
Fitting From a Reference Line, Not the Wall
The single most common DIY mistake in bathroom floor tiling is starting the first row of tiles hard against a wall and working outward from there. It seems logical, but almost no wall in a real house is perfectly straight, and starting from one means any lean or bow in the wall gets carried across the whole floor, getting more obvious the further you get from where you started. A professional works from a planned reference line, usually based on the centre of the room or the most visually important sightline like the doorway, set out square and level independently of the walls, then fits tiles outward from that line in both directions, cutting to fit the walls last. It's a small difference in method with a big difference in outcome: a floor that looks straight and planned rather than one that visibly drifts across the room.
Grouting and Sealing Last
Once every tile is fitted and the adhesive's had time to set, grout gets worked into the joints, cleaned off the surface, and left to cure, typically 24 to 48 hours before regular water contact, followed by sealant around the edges and any movement joints, which needs a similar window before it's genuinely doing its job. Rushing either of these, using the room before they've cured properly, is a common way to undermine an otherwise well-fitted floor. It's the last stage, but it's not a formality. Grout and sealant are the visible finish, and getting the timing right on curing is as much a part of the job as the tiling itself.
A well-fitted bathroom floor comes down to what happens before you see a finished tile as much as the tiling itself. If you'd rather have it done properly from the waterproofing up, get in touch for a free site visit and a quote back within 24 hours. See our Bathroom Tiling page for how we approach this on a real job. Or get a free quote if you already know what you need.
Frequently asked
Questions worth answering upfront.
Not directly in most cases. Floorboards move and flex in ways that can crack tiles and grout over time, so they typically need an appropriate rigid backing board or overlay first. It's worth getting this checked for your specific floor rather than assuming.
It's the planning stage where the layout is worked out before any tile is cut or fixed: deciding where the reference lines go, where cuts will fall, and making sure the finished floor looks planned rather than accidental. Skipping it is the most common cause of a floor that looks slightly off.
Because walls are rarely perfectly straight, and starting from one carries that inaccuracy across the whole floor. Working from an independently set-out reference line keeps the grid square regardless of what the walls are doing.
It gets accounted for at the setting-out stage, before cutting starts, so the tiles around it are planned rather than improvised. It's one of the details that's much easier to get right in advance than to fix afterwards.